


I've slowly (over 15 YEARS) been working on this quilt. It is now nearly done. I plan on putting it into my Guild exhibition. However, it had a few issues. Firstly, it was only about the third quilt I made. Secondly, it is completely hand pieced, hand appliqued and hand quilted. As a result, it wasn't the most square quilt I've made. Also, as it's been made over such a long period of time, it was a bit smelly (mainly from sitting in my spare room which could get a bit musty over winter).
So before I could put it out in public, it needed a wash. I figured that since I was doing that, I'd take the opportunity to block the quilt. This had two benefits, it would let me square up the quilt and also reduce wrinkling. I know that some people like that look, but I don't. So this whole process solved a whole lot of problems.
 So first off, I gave the quilt a good soak in the bath. First round in plain water. I'd used water soluble pen for marking the quilting. It's important to remove this with plain water before washing as some people have had the markings made permanent if washed with detergent before removing the pen lines. Then second round using liquid Napisan. Then a rinse in clean water. I then ran it through the spin cycle on gentle.
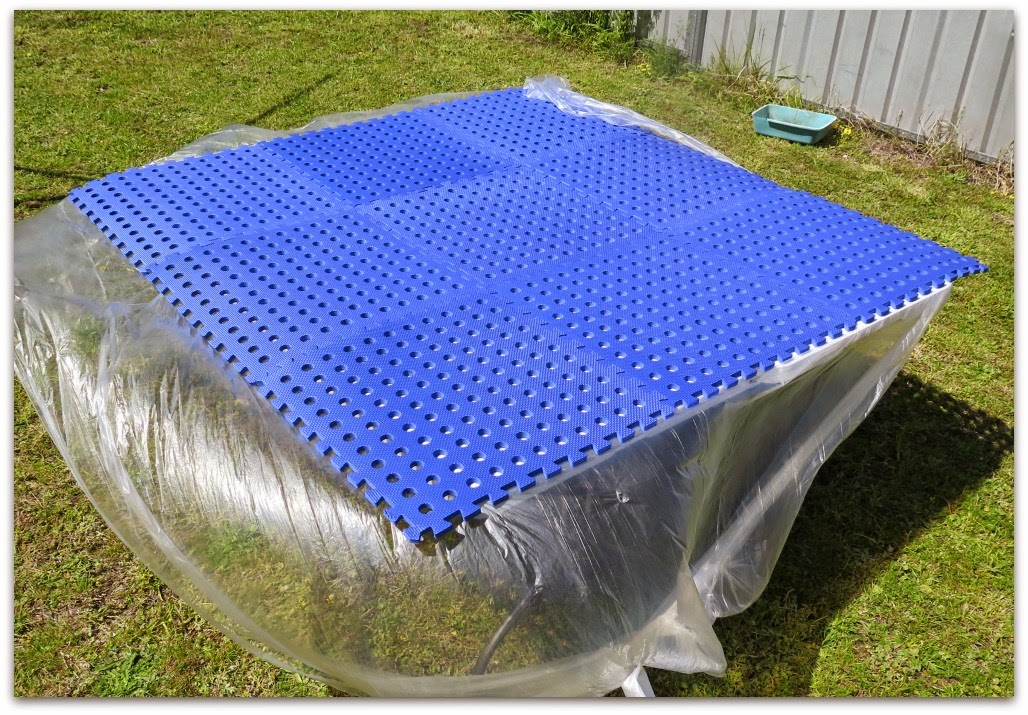
Then it's onto the blocking. I used two 6 foot tables with camping mats on top. This saves lots of bending or kneeling. The mats allow you something to pin the quilt to. I also put a layer of plastic drop sheets on top of the mats, to make sure no colour transferred to the quilt.


So before I could put it out in public, it needed a wash. I figured that since I was doing that, I'd take the opportunity to block the quilt. This had two benefits, it would let me square up the quilt and also reduce wrinkling. I know that some people like that look, but I don't. So this whole process solved a whole lot of problems.
Then it's onto the blocking. I used two 6 foot tables with camping mats on top. This saves lots of bending or kneeling. The mats allow you something to pin the quilt to. I also put a layer of plastic drop sheets on top of the mats, to make sure no colour transferred to the quilt.
Then it's just a matter of laying the quilt down and pinning to the mats. The tables were just a little bit too small, so I pinned to the inner border, inside the HST border. I didn't go to the extent of measuring diagonals etc for perfect squaring but did it by eye. Remember to not over stretch the quilt at because it will shrink as it drys. You want it taught but not stretched.
You can see in the close up below how the wrinkling is reduced. It's not eliminated but it is alot less. This is after it was dried. I forgot to take a close up when it was wet. But it was pretty wrinkly but all the fabrics in this quilt had been pre-washed, so it wasn't too bad.
So now all I need to do it trim and bind. Nearly there!!!


